Friday, June 15, 2012

Stampin' Up's My Digital Studio

I have had this digital program for quite some time and have built up a "library" of 85 brush sets.  So, I decided it was time to start doing something with all of this.
 This was a from a Designer Kit - Happy Birthday, Labels.  I inserted the label onto a "sheet" of white cardstock and then printed it with several other images.  I cut it out and added the white ribbon and popped it up on top of a beautiful sheet of blue paper that was embossed with a Happy Birthday folder.

For my Son-In-Law's Father's Day, I wanted to make a card using All In The Family.  To do this with rubber stamps would be a major task.  The heads are NOT connected to the bodies which are NOT connected to the legs or arms.  However, in My Digital Studio, it is very easy to move all of the parts to where they need to be.  I even added the glasses for both my daughter and son-in-law!  I then colored them with Copic markers.  The background "happy" paper is from a Cricut pad that I got on clearance and the red base cardstock is from my stash.  "Happy Father's Day!" is a rub-on from My Sentiments Exactly. 

For my second Son-In-Law's first Father's Day (baby is due Nov 8), I used the typewriter image from "Your My Type" and enlarged it to 4.25 x 5.5.  I placed the image at the bottom of the 8.5 x 11 "sheet".  I added "dear dad" from Holiday Blitz, "2" from Schoolbook Serif Numbers, and the bumblebee from Sweet Summer.  After it was printed, I trimmed the cardstock to 4.25 x 11 and folded it in half - forming an A2 card.  I trimmed the card to the shape of the typewriter bottom and accented with Black Enamel. 

The inside "Happy Father's Day" is from All Holidays and the tie from Holiday Blitz.  It is so easy to change the color of the image using all (even discontinued ones) Stampin' Up inks!

Lastly I did a generic card using my newest purchase, The Open Sea.  I printed the manifest in Not Quite Navy on white cardstock.  I used several ink pads to distress to an aged look.  The ship from The Open Sea was printed in black and colored using Prismacolors and cut with Spellbinder's Curved Rectangles along with a mat in dark blue cardstock.  The mat was cut the same size as the ship and enlarged by cutting it into 4 pieces and gluing them onto the back of the ship's piece.  I cut little scraps to fill in the gaps.  The anchor was also printed in black and colored with Prismacolors, cut out (oh what fun) and tied on with scrappers' floss. 


I am a total fan of My Digital Studio!  The brush stamp sets are VERY well priced and very versatile!

Friday, May 25, 2012

Completed the Intermediate Copic Certification

Had a great day last Saturday, May 19th,  doing the Intermediate class with a great bunch of gals from all over Texas and even a couple from Oklahoma.  The class was taught by Colleen Schaan and assisted by Lori Craig.

Now I have to practice, practice, practice!

Monday, April 30, 2012

Had some time to do more cards! The first one was done as a special request for a teen grandson of a friend of mine.  I had picked up the stamp at Hobby Lobby awhile back and it was sitting on the shelf talking to me.
The background is Metallic Silver that is embossed with a Tim Holtz's folder, the clouds are Memory Box and the orange and white image are cut with Spellbinders Label 10 and the banner with Spellbinders Ribbon Banners.  The motorcycle is colored with Prismacolors and the side car was cut and popped up.

I also had time to play with my Cricut Imagine and the Greeting Cards Inside and Out.  First I played around with a Graduation card.
This was cut on my pearl cardstock from FasClampit.  I scored the blue edges of the card on my ScorePal and then punched the holes with the Cropadile.  I added a Jolee 3D owl sticker that doesn't show up will here.  The inside:

Next was a cute Mermaid/Surf board card.
I added glitter to accent the various pieces on the outside.  Here is the inside of the surf board which also has multiple layers.  I printed the cardstock from a pattern on the cartridge and mounted the surfboard on it.

Lastly, here is a graduation card that was mass produced for a swap that I am in.  I ran the cardstock through an embossing folder and then cut silver cardstock to the size of the window and ran it through an embossing folder too.  I added the Jolee 3D Owl stickers and within and hour had made 14 of them!
I colored one of the stars with glitter gel to finish it off.


Thursday, April 26, 2012

Altered T-Shirt Neckline

Recently I came across a T-Shirt that I loved, but didn't like the way it felt when I wore it.  I decided it was because the neck binding was too high.  So, I worked on it.  Now I love the shirt and I am "fixing" other ones, too.  Here is what I did - - - -
After removing the tags (thank you to the person who decided to just print stuff on the inside of the shirt rather than having these neck ticklers), I grabbed what had been my mother's Pinking Shears.
Starting at the back, I trimmed the binding using the top stitching as a guide.  I cut just to the right of it.
Each time I moved the scissors, I placed them in the zig/zag of the prior cut and worked my way around to the starting point.
Here is my finished neckline!

Oh so much better!!!!

Monday, April 9, 2012

My Sweet Sierra's Easter Card

I love digital images.  This is from a stamp set of The Angel Company, but the stamp is very small.  I purchased the digi from Whimsy And Stars Studio etsy store and resized it to 4.75 inches wide.  The card is 5 x 7 total.  Miss Ducky's hat is flower soft and I added button wheels with button hub caps.

Blog Challenge:  DYSU #66 - FRIENDLY CRITTERS  at http://doyoustackup.blogspot.com/. 

Sierra and her mommy liked it!

Friday, April 6, 2012

Happy Easter!

Here are some Easter cards that I did for my barter group.  I didn't get any made for me.  :(


These are all digital images from Clear Dollar Stamps and they come already colored!  There are background papers with some of them too.  The words are Rub-ons from My Sentiments Exactly.  Definitely fast and easy, but they look like you spent lots of time on them.

Hope you and your family have a Blessed Easter.
Cindie

Thursday, March 22, 2012

Catching up - again

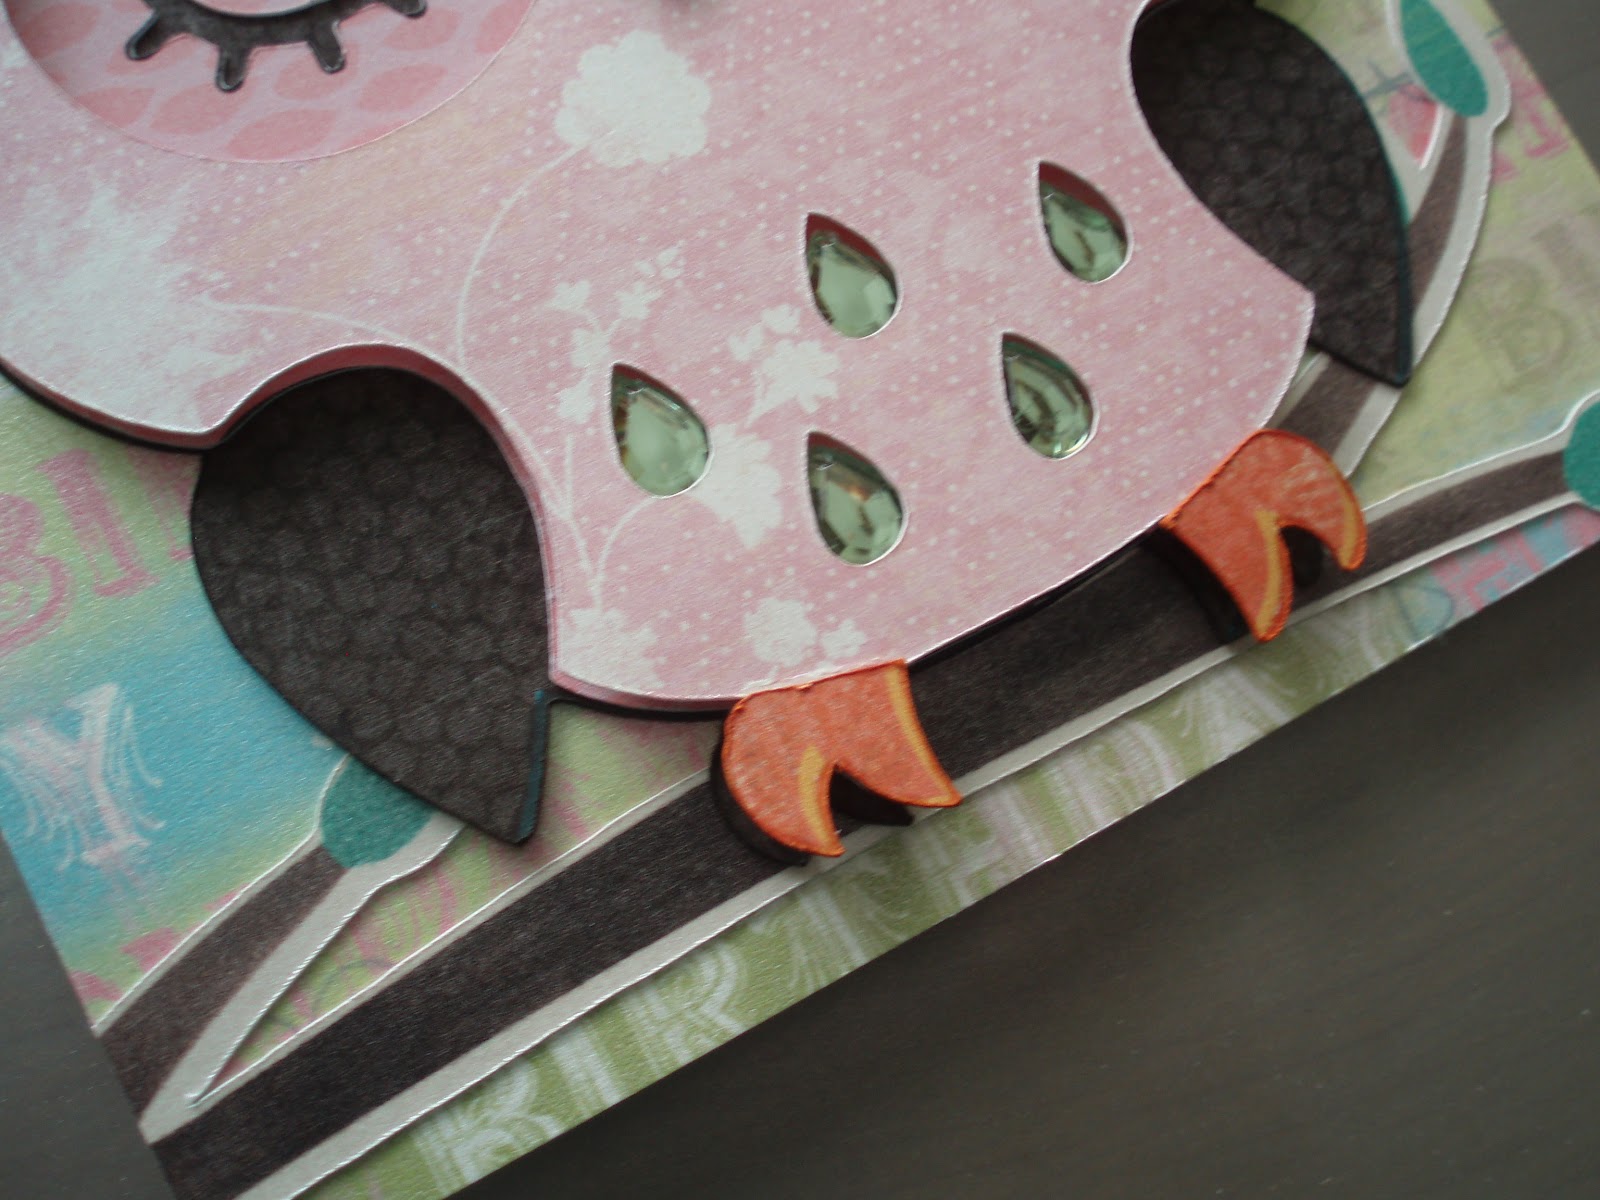
First, let me share with you the First Birthday card I made for my sweet Granddaughter.  She will be ONE on Saturday.  The party theme is owls and I used this cute one from my Cricut Create a Critter cartridge.  I used my Imagine and colored in the owl using various Imagine carts and then for the hat and branch, I cut using Better Together all in Cricut CraftRoom.


The green "feathers" are from a jewel flower that I cut apart (didn't have any tear drop ones) .  The "1" on the hat was from my stash of chipboard stuff and the "Birthday Wishes" is a rub on from My Sentiments Exactly.  

I've been busy making other cards, too.  I recently got a Grand Madison Window die from Poppy Stamps (http://poppystamps.com ) and made this card using A Little Bit Sketchy "Cheers" from Crafters Companion. 

I found a few butterflies from my stash and added a Spellbinder banner die for the Birthday Blessings. 


Lastly, I friend of mine made a memo pad for me out of a Kleenex box and it inspired me to make some from the Cool Touch ones that I used when I had a sinus infection last month.  These cube boxes have a really neat blue foil finish and I found that it embossed beautifully.  So, here is my memo pad:

I added Gross Grain ribbon on the front to cover the "Kleenex" wording and a flower.  I bound it with my Bind It All and white wire.


The back was left with the "Kleenex" showing.  The stamp is from Stampin' Up and stamped in Stazon.  I love the "give your trash a 2nd chance"!