Monday, February 21, 2011

Team Meeting Project #2

Be Lifted from The Angel Company.  Light blue paper was embossed and then sanded to reveal the white core.  White scrappers floss tied with bright ribbons completes the kite's tail.

Team Meeting Project #1

This card used Cup of Love T-3411 for the Tea Cup and saying, Edge Designs T-3002 for the "table top" under the cup, and Robyn Download paper from The Angel Company.  To access the downloadable paper:
http://www.theangelcompany.net/Downloads_RobynPaper_10.html . 

Thursday, February 3, 2011

More Cards!

Since we've been frozen in here in the Dallas area, I have had lots of time to craft!  Not all of these were done on my "snow days", but this is the first time I've had a chance to post them.  I have others, but I can't show them yet!  Some are for my oldest daughter's baby shower and then there are Valentines for my girls and their hubbies.  I'll post them after they've received them.  Anyway, these are the cards that I CAN post.
 Castle is from Wrap-it-up and was layered on a purchased blank card.  The "5" is from my sticker stash.
The Seal is from Paper Dolls for Everyday.  The stand is from a shape in George.  Now I own Birthday Bash that also has a performing seal.  The sticker in the middle of the ball is from my stash.  The seal was cut and colored on the Cricut Imagine.  The card base is from Cricut Imagine More's cardstock options.  I told the machine that my cardstock size was 6" by 12".  I set the machine to print only and did some maneuvers to get the print to move to the right side of the cardstock.  If anyone is interested, I'll try my hand at doing a video to show how I did it.

 This was a really easy card made using The Cricut Imagine More Cards cartridge.  I LOVE this one for birthday cards,
Another quick easy card using The Cricut Imagine More Cards cartridge.  The "Happy Anniversary" is from a sheet of stickers that I picked up at a craft show last summer.

Some Valentine Cards for Guys!

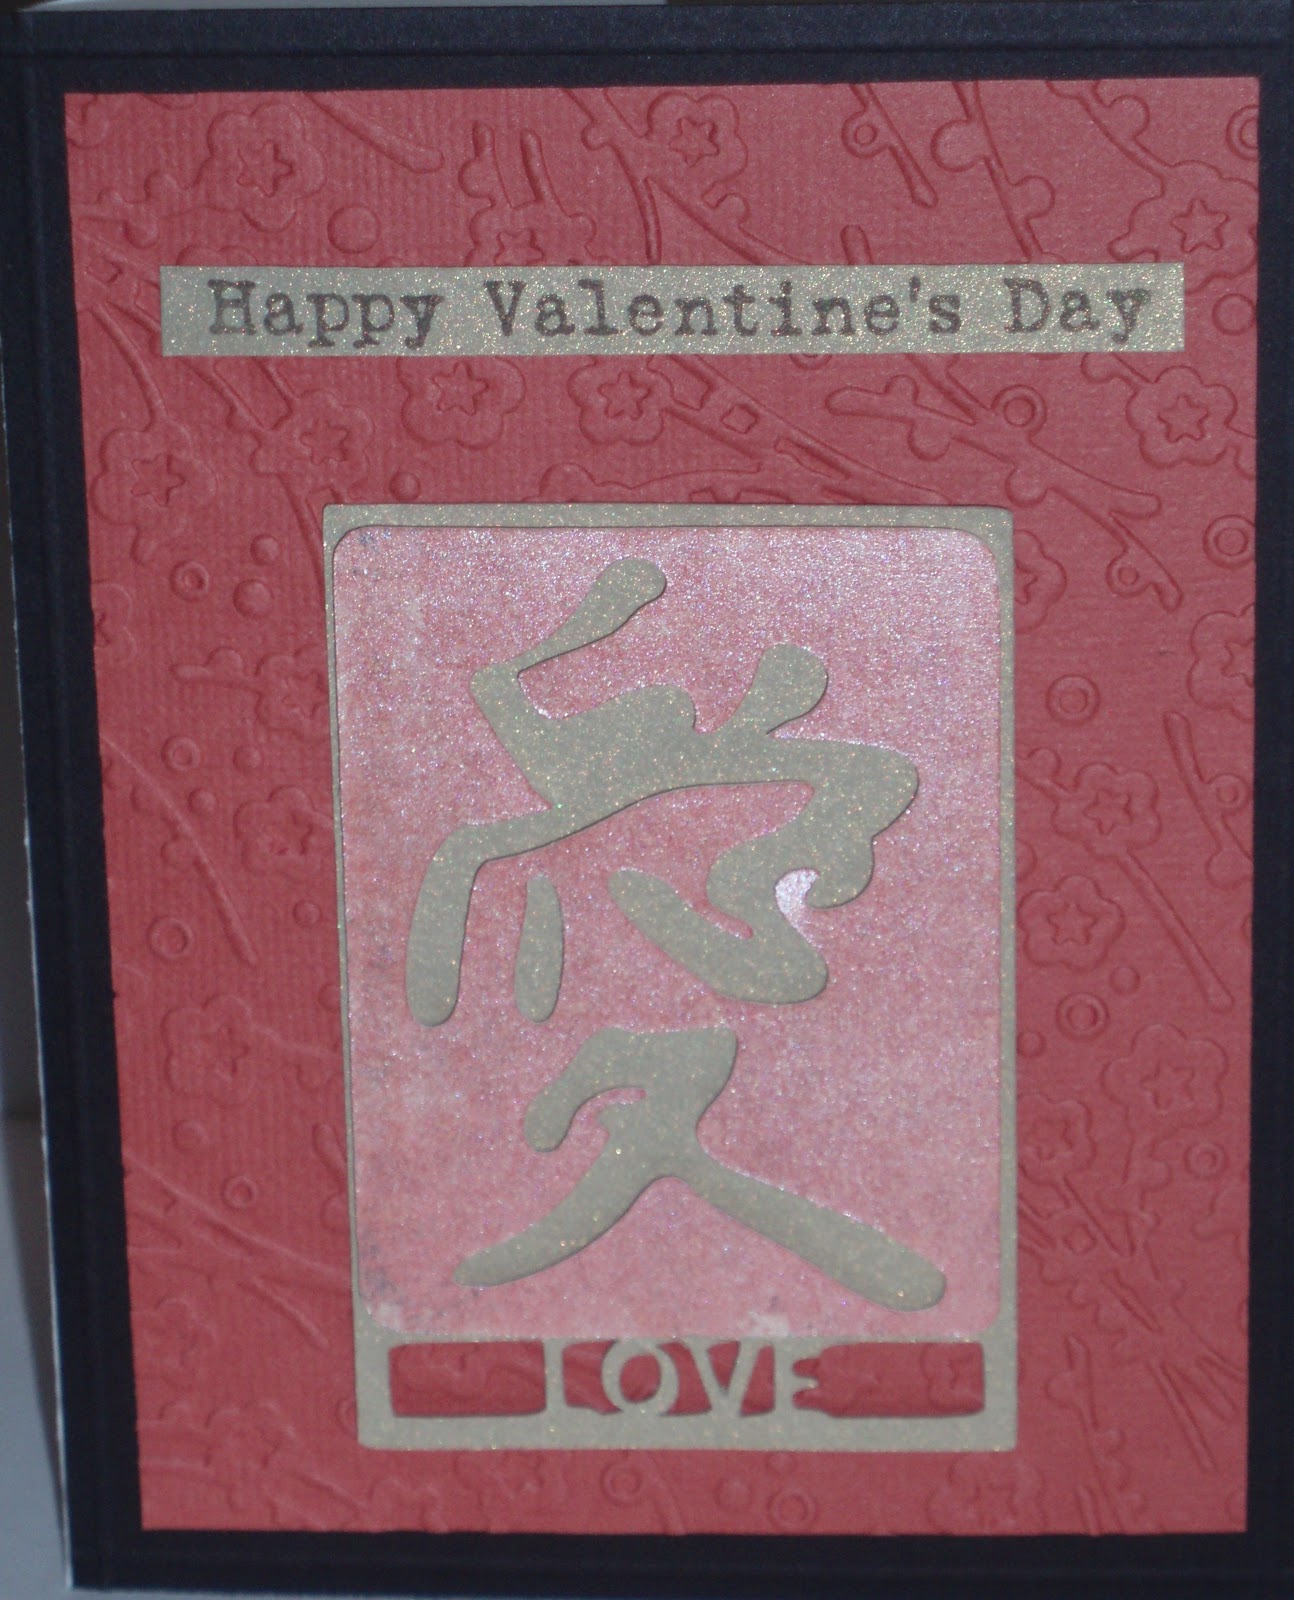
One of the most difficult things for me to work on are cards for guys!  Now, make that a Valentine Card for a guy.  These are inspired by my son-in-law and Chinese New Year which was yesterday.  The Cricut
Cartridge used was Pagoda and it was cut on the Cricut Imagine.  The Black base is from The Angel Company (V215 for 8 1/2 x 12 or V246 for 12 x 12).  Layered over it was soft red from my stash that I embossed with a Cuttlebug embossing folder with Cherry Blossoms.  The base of the tag is gold metallic cardstock (from a local paper supplier, but it is like Stampin' Up's) and the upper portion of the tag is using Aspire Petallics Beargrass which is a beautiful Pearl White.  I used the Cricut Imagine More cartridge to cut and color the white pearl cardstock with a distressed red.  The black Scrapper's Floss on the tag and card is from The Angel Company F-912.  The Happy Valentine's Day is from My Sentiment's Exactly and it stamped on the gold cardstock with Palette Ink Noir.  The card is an A6 (4 x 6) size.

 This card is an A2 size (4.25 x 5.5) and is essentially the same except it does not have the Scrapper's Floss accents.
I was able to fit 8 of the gold tag bottoms and 8 of the tag tops onto an 8 1/2 x 11 sheet of cardstock.  I made 3 of the larger cards and 3 of the smaller ones.  That left two of the tags left.  I made them into actual tags by layering them onto black cardstock tags cut from the Tags, Bags, Boxes and More cartridge.  I cut this on my Cricut Expression.  I added a Black Extra Large Eyelet from We R Memory Keepers using my Crop-a-dile from The Angel Company (K-100).  The black tulle ties are from my stash.
If you are interested, these cards are for sale.  The A6 for $5 and the A2 for $4.  Please email me and I will get them out to you.

Tuesday, January 4, 2011

Just a few of my December Projects

My brother and sister-in-law's Anniversary.


Part of the card set that went to Grandma Betty for Christmas.


The box that I did to hold the 10 cards for Grandma Betty.  I included ones from my stash of cards that I did for "spares".  The box was from a cardstock stack "Nana's Nursery" by DCWV.  The leather flower and brads are from my stash and the floss is from The Angel Company.  Let me know if you want to see instructions for the box.  I found instrucions on line and then modified it to fit more cards. 


Snowman Tree was for a swap gift at a party.  The snowman images are all from The Angel Company, but some are from retired sets. 

Monday, January 3, 2011

My Pink Stamper Design Team 2011 - Challenge & Submission

Here is my submission for the Design Team at My Pink Stamper.  We were to use Pink, Green & Brown.  I was inspired by the fact that my oldest daughter is expecting her first baby April 1st.  We don't know - and won't know if this baby is a girl or boy, but since the Challenge needed to have pink, I made this for a girl!
The card was made using the Cricut cartridges Wrap It Up and Straight From the Nest and Cricut Imagine cartridge Imagine More Cards.
I cut the base of the card using my Gypsy and my Cricut Expression and the Wrap It Up cartridge.  Two Onesie images were set at 5.5 inches and one was rotated 180 degrees.  The two images were welded together to make a card that opens at the bottom.  This was cut from Linen textured cover weight 65# cardstock.  Then I moved over to the Cricut Imagine and again used the Wrap It Up cartridge along with the Cricut Imagine cartridge Imagine More Cards.  The Onesie-s was set up at 5.5 inches and the pink dotted pattern.  Layer for Onesie for the neck and snaps was set up at 5.5 inches (not real-sized) and cut in a solid green.  I removed the Wrap It Up cartridge and replaced it with the Straight From The Nest.  Using the Owl on page 30, I cut one Layer/Shadow with no pattern at 1.1 inch, one Owl at 1.2 inches in the Brown Damask, one Owl-s (the wings and belly) at 1.2 in a solid green, and the beak (Layer/Shadow of Owl) at 1.2 in Orange.  The branch is from the same cartridge on page 42.  The branch is cut at 1 inch in dark brown and the leaves in green at 1 inch.
Rather than using the circles that were cut for the eyes, I used green gemstones.
Recipe:
Tools:  Gypsy, Cricut Expression,  Cricut Imagine
Cricut Cartridges:  Wrap It Up & Straight From The Nest
Cricut Imagine Cartrides:  Imagine More Cards
Linen 65# cardstock - Ivory
Green Gemstones

Christmas Present!!!
For Christmas, my sweet hubby gave me a Cricut Imagine. 

I have been having a blast with it!  Here are some of the cards I've done.
Our friend Jimmy drives a Limo.  He and his wife, Stacey, went with us to Disney World last fall.  I did this card mostly with the Cricut Expression using the Mickey & Friends Cartridge.  The sign post was done on the Cricut Imagine.

My Great Nephew, Cole turns 2 this week!  This card was done with the Cricut Imagine.  I LOVE the card back.  I used the Imagine More cartridge and set the paper size to 6 inches.  I placed a box with no printing on it to "force" the pattern image over a bit.  After it printed, I then trimmed the cardstock to 6 x 9  and folded it at 4.5 inches (an A6 card size).  I used B is for Boys for the sail boat, Celebrations for the "2" and rub-ons from my stash for Birthday Boy.

This card was done using the Cricut Imagine More Cards.  I changed the color of the popped up oval from the stripped that is in the Layered Image to the aqua you see here.  I used glitter pens on "CAKE" and a piece of cord from my stash.

My Son-in-Law will be 30 this week and for Christmas he got Rock Band 3.  He has been playing it and I thought I'd use a sheet of paper from DCWV's Music Stack.  The cartridges used are Celebration and Wrap It Up.  I used the Gypsy to change my card size to an A6 and cut it (and the "3") on my Cricut Expression.  The Happy Birthday is from Wrap it Up and was printed and cut on the Cricut Imagine.  The star stickers are from my stash and I colored the large musical note using a glitter gel pen. 

I have had a BLAST playing with my new toy! 

Monday, November 29, 2010

Birthday Card for Paula-Kay

I had to wait to post this until after she received her card.  The stamp is Sunflowers T-3292 from The Angel Company and colored with Copic Markers.  The white dots on the pitcher are done with a  white Glaze Gelly Pen.  The white cardstock is cut using Spellbinders Nestabilities Label 10.  The yellow background paper is from the Miss Moxie Soar With It Collection, also from The Angel Company.  Birthday Blessings, is from Love You TB-3362 a Level B Hostess Set.


Tomorrow I hope to finish my Christmas cards so I can get them off in the mail!